
What Happens When You Get Solar Installed in NZ
Most guides about solar focus on panels, pricing, and payback. That is useful, but it skips the part that actually stresses people out: what happens after you say yes?
The installation process in New Zealand involves your installer, your lines company, your power retailer, and an independent electrical inspector. Nobody coordinates all of them for you. Your installer does most of the legwork, but there are steps where you are waiting on organisations that move at their own pace.
This guide walks through every stage, with real timelines, the paperwork nobody tells you about, and the delays you can actually prevent.
The Complete Timeline
From the day you accept a quote to the day your system feeds power into your home: 4 to 8 weeks. It can stretch to 10 to 12 weeks if you hit a meter upgrade delay.
| Phase | Duration | Who’s Responsible |
|---|---|---|
| Getting quotes and site assessments | 1-2 weeks | You + installers |
| DG application to lines company | 10 min to 30 business days | Installer |
| Installation day | 1-2 days on-site | Installer |
| Electrical inspection (Record of Inspection) | Next day to several weeks | Independent inspector |
| Smart meter upgrade | 3-5 weeks after request | Power company |
| System switched on | Same day as meter | You or installer |
The actual installation is the fast part. It is the approvals, the inspection, and the meter swap that eat up the calendar. Most of this waiting happens while your panels are already on the roof, sitting idle.
Your panels will be on your roof for weeks before they generate a single dollar of savings. The meter upgrade is almost always the bottleneck.
Getting Quotes and Site Assessment
EECA recommends getting at least 2 to 3 quotes before committing. This is not just about price. It is about seeing how different installers assess your property and what they recommend.
What a good quote includes
A properly detailed quote should cover everything required to get your system from a truck to your roof and connected to the grid. If your quote is a single line saying “6.6 kW solar system - $14,500”, ask for a full breakdown.
- Scaffolding
- Cabling and electrical work
- Inverter(s) and controllers
- Surge protection
- Racking and mounting system
- Any roof work needed
- Labour
- Consent applications (if needed)
- Electrical inspection
- Distributed generation application
- Import/export meter installation
- Battery setup (if applicable)
Deposit: Typically 10 to 50% upfront. Some installers like Lightforce require 50% before they submit the DG application. The industry standard is 10 to 20%, with the balance due on completion.
The site assessment
Before quoting, a good installer checks your property in person (or at minimum, via detailed satellite imagery with a follow-up visit). Here is what they are looking at:
- Roof condition: Structurally sound? Can it support panel weight? Roofs over 20 years old should be replaced first.
- Roof orientation and pitch: North-facing is optimal in NZ. East/west still works. Ideal pitch is 20 to 40 degrees.
- Roof material: Metal, asphalt, tiles all work. Slate needs special mounting.
- Shading: Trees, chimneys, neighbouring buildings blocking sunlight during peak hours.
- Available roof space: A 10 kW system needs 25 to 30 panels, each roughly 1.7m x 1m.
- Switchboard capacity: Old switchboards may need replacement. This is one of the most common surprise costs.
- Mains cable capacity: Can your electrical supply handle the solar addition?
Some installers can do the initial assessment without you being home. But you should be available for questions, especially about your switchboard location and any planned renovations.
Distributed Generation (DG) Approval
This is the step most homeowners have never heard of. Before your installer can connect your system to the grid, they need permission from your local Electricity Distribution Business (EDB), also known as your lines company.
Your installer handles this. If they ask you to submit the application yourself, treat that as a red flag.
What it is and why it matters
The DG application is required under Part 6 of the Electricity Industry Participation Code. It tells your lines company you are adding generation to the network. They check that your inverter meets the AS/NZS 4777.2:2020 standard and that the local network can handle the export.
Legally, EDBs cannot unreasonably refuse connection if your equipment meets the technical standards. But they can take their time approving it, and some do.
Approval times by lines company
This is where it gets regional. The difference between a 10-minute auto-approval and a 30-business-day manual review is massive. Here is what to expect based on your EDB:
| Lines Company | Region | Typical Approval Time | Export Limit |
|---|---|---|---|
| WEL Energy | Waikato | 10 min (auto) to 10 working days | 10 kW |
| Orion | Canterbury | 5 working days (under 15 kW) | Check congestion policy |
| Counties Energy | South Auckland / Waikato | ~10 business days | 10 kW |
| Wellington Electricity | Wellington | Up to 30 days | 5 kW per phase |
| Aurora Energy | Otago / Queenstown | Varies | 10 kW (since Aug 2025) |
| PowerNet | Southland | Varies | 10 kW (since Feb 2026) |
| Northpower | Northland | Varies | 10 kW |
| Vector | Auckland | Not specified publicly | Check with Vector |
| Powerco | Wairarapa / Taranaki / BoP | Varies | 10 kW |
| Unison | Hawke's Bay / Rotorua / Taupo | Varies | 10 kW (since Nov 2025) |
| The Lines Company | King Country | Up to 30 business days | Check with TLC |
| Firstlight Network | East Cape / Gisborne | 5 days ack, 30 days final | Check with Firstlight |
New Zealand has 29 EDBs, each with their own application form, process, and timeline. Your installer will know which one covers your area, but it helps to ask upfront how long they expect approval to take.
The shift to 10 kW export limits
The Electricity Authority has proposed mandating a 10 kW default export limit (up from the previous 5 kW standard). A decision is expected around April 2026. Many EDBs have already moved voluntarily: WEL Energy, Aurora Energy, Unison, Powerco, PowerNet, Northpower, and Counties Energy are all at 10 kW.
Wellington Electricity is a notable holdout at 5 kW per phase. If you are in Wellington with a larger system, ask your installer how this affects your design.
Building consent (usually not required)
Since 23 October 2025, most residential solar installations in NZ do not need a building consent. The new exemptions work like this:
- Under 40 sq m total array area and wind zone “High” or less: no consent, no engineer needed
- Over 40 sq m or higher wind zone: no consent needed if a Chartered Professional Engineer designs or reviews the installation
- Applies to both residential and non-residential buildings
Consent may still be needed for heritage buildings, structural alterations to non-compliant roofs, or properties in high wind zones like exposed Wellington hillsides.
What Happens on Install Day
This is the satisfying part. After weeks of paperwork and approvals, a team shows up and puts panels on your roof. For a typical residential system (4 to 10 kW), it takes one day. Larger or complex systems may take two.
Before they arrive
- Scaffolding: Erected a couple of days before the install. Required for two-storey homes. Clear your gardens, paths, and access areas.
- Neighbour notice: If the installer needs access to a neighbouring property for scaffolding, they will let you know.
- Be available: You should be home (or reachable) on install day. The team needs access to your roof, switchboard, loft, and electricity supply.
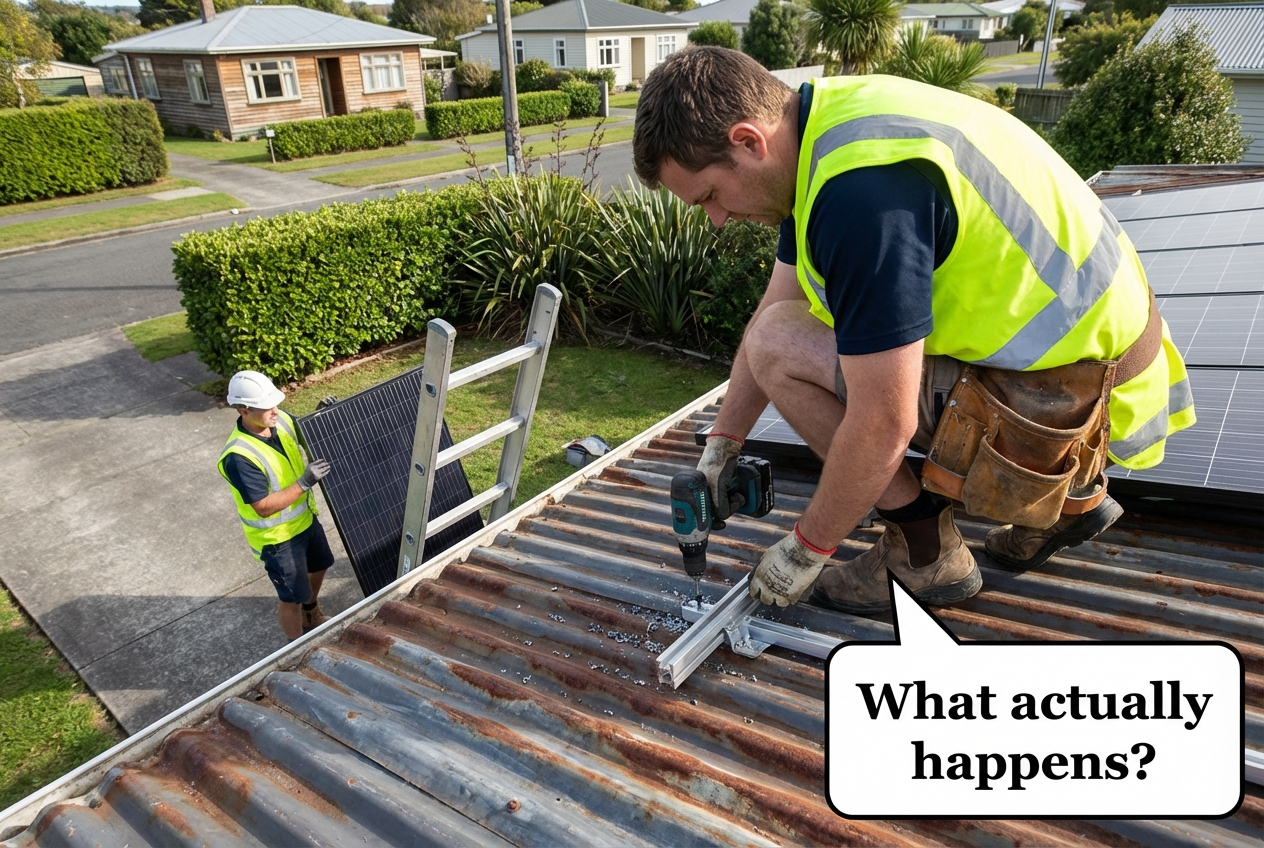
The install, step by step
1. Frame and racking installation: Aluminium bars fixed to the roof using feet or brackets. This is the only part physically attached to your roof. The installer ensures it stays watertight.
2. Panel mounting: Panels are clamped onto the frame in rows or columns depending on roof shape. Placement considers electrical characteristics and shading.
3. Roof wiring: The electrician connects the pre-wired panels. Wiring runs from panels down to the inverter location.
4. Inverter installation: Converts DC from panels to AC power your home uses. Usually mounted on a wall inside the garage or outside in a sheltered spot.
5. Switchboard connection: The inverter is connected to your switchboard and a circuit breaker is added.
6. System commissioning: The technician powers the system on and tests all outputs. Verifies everything is performing correctly.
7. Monitoring setup: System connected to your WiFi. You get email instructions for the monitoring app (Fronius, Enphase, SolarEdge, Growatt, etc.).
8. Customer handover: Installer walks you through basic inverter functions and monitoring. Then the system stays OFF until inspection and meter upgrade are complete.
Will my power go off?
Yes, briefly. The electrician needs to disconnect your supply while connecting the inverter to your switchboard. This typically takes 1 to 2 hours, not the full day. Power is on for most of the install while the team works on the roof.
Weather and rescheduling
Rain means the install gets rescheduled. Wet roofs are a safety hazard, and outdoor electrical work requires dry conditions. Indoor prep (inverter mounting in a garage, wiring prep) can continue, but panel installation and roof wiring cannot.
Install day is usually the simplest part of the whole process. It is everything before and after that catches people off guard.
After Installation: Inspection, Meter, Grid
Your panels are on the roof, but they are not generating savings yet. Three things need to happen before you flip the switch, and they happen in sequence.
1. Electrical inspection (Record of Inspection)
Grid-connected solar is classified as high-risk prescribed electrical work in New Zealand. An independent licensed electrical inspector must verify the installation and issue a Record of Inspection (RoI), which gets lodged on the Energy Safety high-risk database.
Separately, the electrician who did the work issues a Certificate of Compliance (CoC) and Electrical Safety Certificate (ESC) within 20 days of completion. You receive a copy.
Timeline: Could be next day, or several weeks during busy summer periods. Your installer arranges this. If they do not, that is a serious red flag.
2. Smart meter upgrade
This is the step that surprises everyone. Your existing meter cannot measure electricity flowing in two directions. It needs to be replaced with an import/export smart meter so your power company knows how much you are consuming from the grid and how much you are sending back.
Your installer requests the meter change from your power company. The timing is entirely in the power company’s hands.
Timeline: 3 to 5 weeks typical. Up to 30 working days. Some providers cover the cost (valued $150 to $230). Others charge around $100.
Critical: if you turn your system on before the smart meter is installed, your power company will charge you for the solar you export instead of crediting you for it. Keep the system off until the new meter is in.
3. Grid connection and first power
Once both the RoI and the smart meter are done, your installer (or you) switches the system on. From this moment, you are self-consuming solar power and exporting surplus to the grid. Your power company starts crediting you for exports.
Your first power bill after solar may look confusing. If the meter was changed mid-billing period, expect a partial or split bill. Summer bills will show the biggest benefit. Daily fixed charges still apply regardless of solar.
4. Monitoring and buy-back setup
Your installer usually connects the monitoring app on install day. Brand-specific apps (Fronius Solar.web, Enphase Enlighten, SolarEdge mySolarEdge, Growatt ShinePhone) give you real-time and historical production data. Your installer can often remotely diagnose issues through the monitoring platform.
For buy-back rates, you may want to shop around. Rates vary from 7c to 17c per kWh depending on your retailer. Self-consumption is always more valuable than exporting: you avoid buying at 25 to 35c retail rates.
What Your Installer Should Handle
A good installer manages the entire process. You should not be chasing lines companies or booking inspectors. Here is the split of responsibilities.
Your installer handles these (red flag if they don't)
- Distributed generation application to your lines company
- Requesting meter reconfiguration/upgrade from your power company
- Arranging the electrical inspection (RoI)
- Issuing the Certificate of Compliance and Electrical Safety Certificate
- System commissioning and testing
- Monitoring setup and WiFi connection
- Notifying your electricity retailer
- Building consent application (if needed)
- Scaffolding arrangement
Your responsibilities
- Pay deposit (10 to 50%)
- Provide your power bill (for ICP number and usage data)
- Provide switchboard photos if requested
- Ensure clear access to roof, switchboard, loft, and garden paths
- Notify neighbours if scaffolding access is needed
- Choose your electricity retailer and buy-back plan
- Keep the system off until the smart meter is installed
- Be available on install day for the final walkthrough
Common Delays and How to Avoid Them
The 4 to 8 week timeline assumes everything goes smoothly. Here is what actually slows things down and what you can do about it.
The smart meter bottleneck
This is the single biggest delay most homeowners hit. Your system is installed, inspected, and ready to go, but you are waiting 3 to 5 weeks for a meter technician to show up. There is not much you can do to speed this up, but you can avoid making it worse:
- Confirm your installer has submitted the meter request immediately after installation, not after inspection
- Ask your power company directly for a timeline and follow up if it slips
- If you are switching retailers, do it before installation so the new retailer handles the meter change
Lines company delays
DG approval ranges from 10 minutes (WEL Energy auto-approval) to 30 business days (Wellington Electricity, The Lines Company). If your inverter is not on the EDB’s pre-approved list, the application triggers a manual review and takes longer.
How to avoid it: Ask your installer which inverter they are using and whether it is pre-approved by your local EDB. Using a pre-approved inverter can cut weeks off the timeline.
Electrical inspector availability
Summer is peak solar season, and inspectors are in high demand. During busy periods, you could wait several weeks for the Record of Inspection. Some regions have fewer inspectors than others.
How to avoid it: You cannot control inspector availability, but installers who work with the same inspectors regularly tend to get faster scheduling. Ask your installer about their typical inspection turnaround.
Switchboard surprises
Old or non-compliant switchboards may need replacement before solar can connect. Older houses with black switchboards may contain asbestos, which requires specialist removal.
Cost: $1,500 to $4,000+ depending on scope. A good installer flags this during the site assessment, but sometimes it is only discovered on install day.
How to avoid it: Send your installer clear switchboard photos before the quote is finalised. If your home is older (pre-1990s), ask specifically about switchboard condition during the site assessment.
Weather delays
Rain reschedules the install. NZ’s changeable weather can push timelines out, especially if you are booked during a wet week. This is unavoidable, but building in a buffer week helps set expectations.
Roof issues discovered late
Cracked tiles, loose flashing, or a roof nearing end of life can all cause delays. If your roof is over 20 years old, consider getting it assessed independently before you start the solar process. Replacing a roof after panels are designed for it creates complications and additional cost.
Red Flags to Watch For
Most solar installers in NZ are professional and reliable. But the industry is growing fast, and not everyone operates to the same standard. Here are the warning signs that should make you pause.
- Installer asks you to submit the DG application yourself. This is the installer’s job. If they push it onto you, they may cut other corners too.
- Not SEANZ-accredited. All bank green loans require a SEANZ member installer. Without SEANZ, you lose access to 0-1% financing.
- No mention of electrical inspection. Grid-connected solar is classified as high-risk prescribed electrical work. The inspection is legally required.
- Quote missing scaffolding, cabling, or inspection costs. These are real costs. If they are not in the quote, they will show up as extras later.
- No site visit before quoting. A satellite image only tells part of the story. Switchboard condition, cable runs, and roof condition need an on-site check.
- High-pressure sales tactics. "This price is only available today" is almost never true. Good installers hold quotes for 2-4 weeks.
- No warranty details provided. You should see separate warranties for panels, inverter, and workmanship. If any are missing, ask.
- Price that seems too good to be true. Under $1.40/W usually means cut corners on equipment, installation quality, or missing line items.
Always check that your installer is a registered electrician. In New Zealand, all electrical work (including solar connections) must be done by a registered electrician. Ask for their registration number and verify it on the Electrical Workers Registration Board (EWRB) website.
Common Questions
How long does the entire solar installation process take in NZ?
From accepted quote to a live system: 4 to 8 weeks. The installation itself takes 1 to 2 days. The rest is approvals, inspection, and the smart meter upgrade. If the meter is delayed, it can stretch to 10 to 12 weeks.
Do I need to be home on installation day?
You should be available. The team needs access to your roof, switchboard, loft, and electricity supply. At the end of the day, the installer walks you through the system and monitoring. The site assessment can sometimes be done without you.
Will my power go off during installation?
Yes, for 1 to 2 hours while the electrician connects the inverter to your switchboard. Power is on for most of the day while panels and racking are being installed on the roof.
What is a DG application?
DG stands for Distributed Generation. It is an application your installer submits to your local lines company (EDB) for permission to connect solar generation to the electricity network. It is required by law under the Electricity Industry Participation Code. Approval takes anywhere from 10 minutes to 30 business days depending on your EDB.
Do I need building consent for solar panels?
Since October 2025, most residential installations do not need building consent. The exemption applies if your panel area is under 40 square metres and your property is in a standard wind zone. For larger systems or high wind zones, a Chartered Professional Engineer can sign off instead of a full consent.
Can I turn my solar system on before the smart meter is installed?
Technically the system can operate, but you should not. If the old meter is still in place, your power company will charge you for the electricity you export instead of crediting you. Wait for the import/export smart meter before switching on.
What happens if it rains on my scheduled install day?
The install gets rescheduled. Wet roofs are a safety hazard and outdoor electrical work requires dry conditions. Most installers will rebook you for the next available dry day. Indoor prep work (like inverter mounting in a covered garage) can sometimes proceed.
What paperwork should I receive after installation?
You should receive a Certificate of Compliance (CoC) and Electrical Safety Certificate (ESC) from your electrician, plus confirmation that the Record of Inspection (RoI) has been lodged with Energy Safety. You should also receive warranty documentation for panels, inverter, and workmanship.
Next steps for your solar journey
Written by Sarah Chen
Sarah has spent three years covering renewable energy in New Zealand, from residential rooftop systems to community solar projects. She holds a degree in Environmental Science from the University of Auckland.
Reviewed by
Matt Wilson
Registered Electrician & Solar Installer
Related guides
View all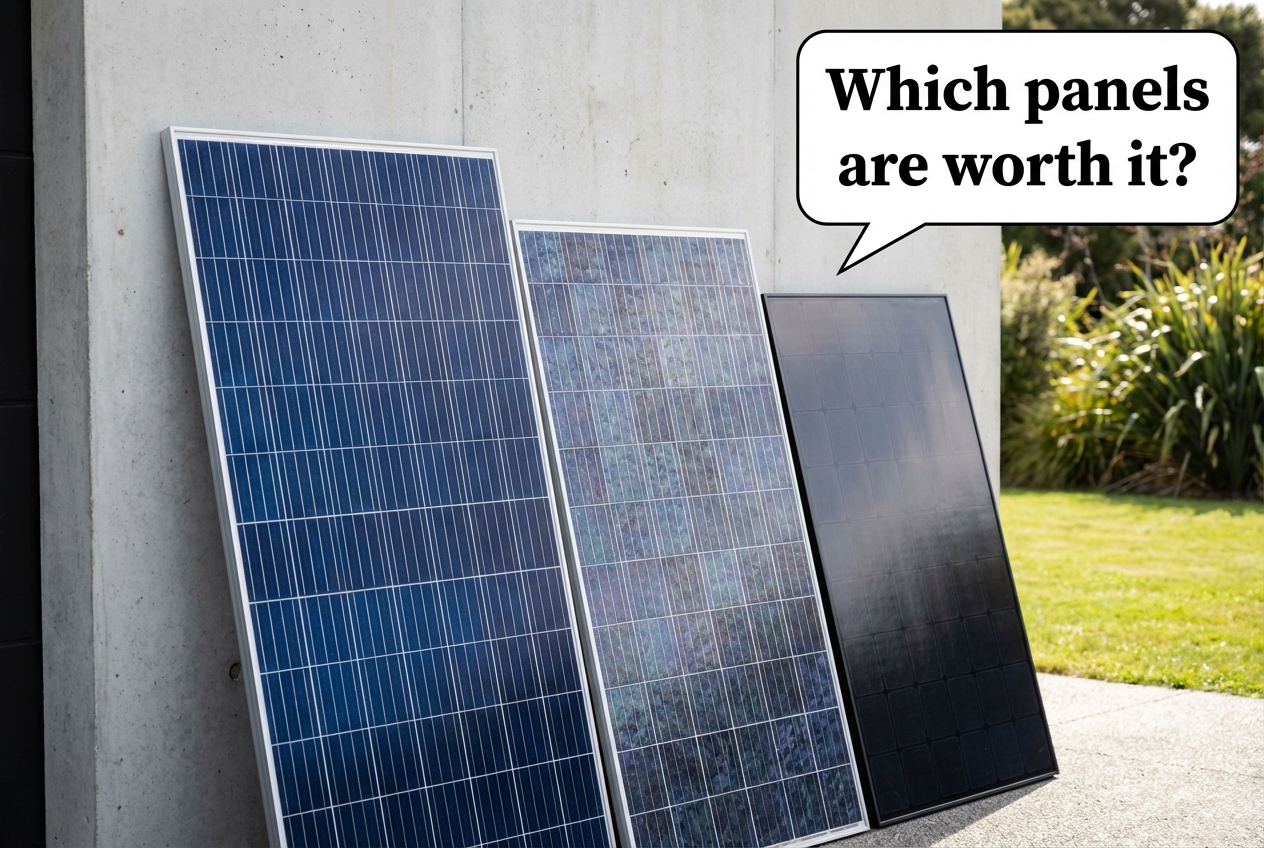
Best Solar Panels NZ: Brands, Tiers and What to Look For (2026)
Compare the best solar panels available in NZ. Tier 1 brands, specs, warranties, NZ pricing, and what installers actually use. TOPCon vs PERC vs HJT explained.
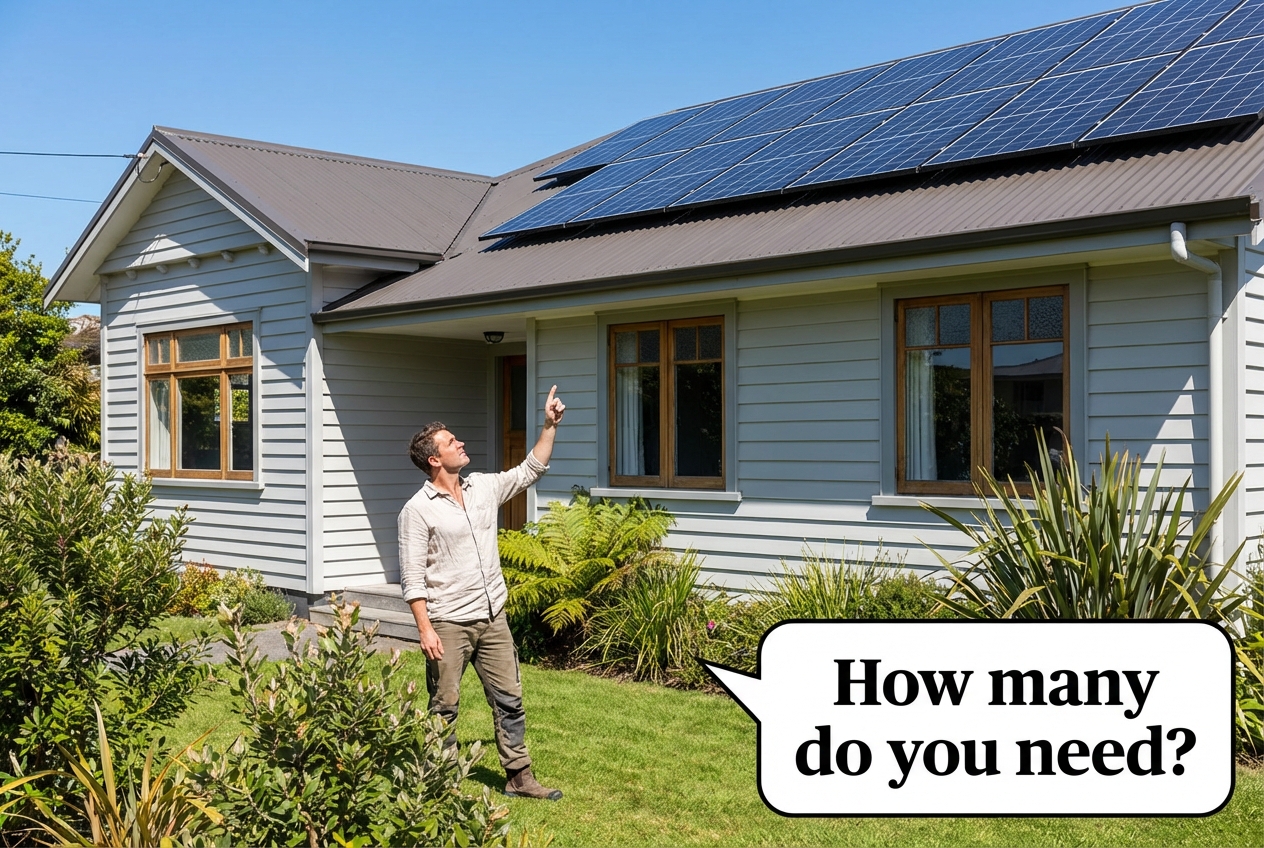
How Many Solar Panels Do I Need?
Work out how many solar panels your NZ home needs. Based on your power usage, roof space, and whether you're adding a battery or EV charger.
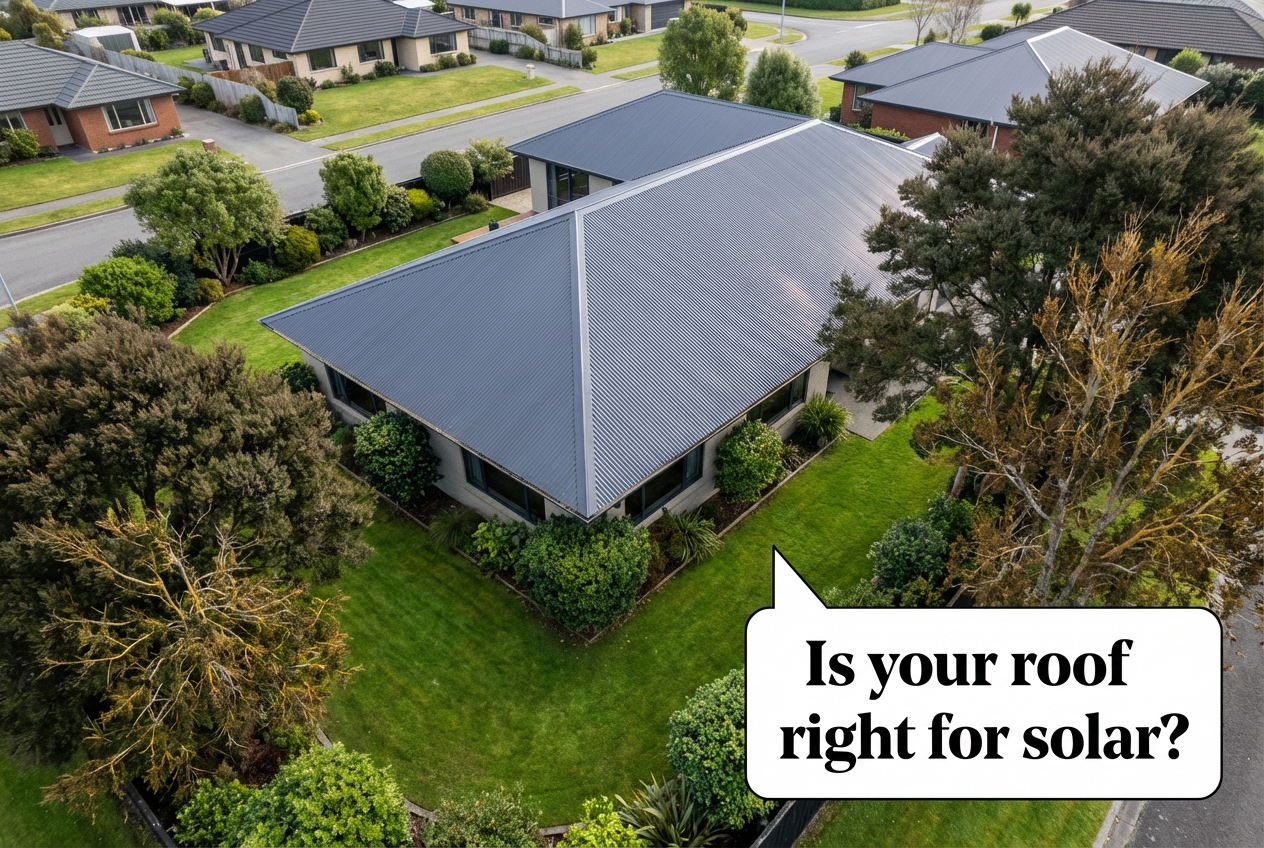
Is My House Suitable for Solar Panels?
Check if your NZ home is right for solar. Roof direction, pitch, shade, and structural factors explained for Kiwi houses.
Do Solar Panels Work in Winter and on Cloudy Days in NZ?
Solar panels still generate power on cloudy days and through NZ winters. Here's exactly how much output changes and why it still works.